
SNOOKER CUE CARE · CASE FIT
Is Your Snooker Cue Case Too Tight? A Safe Fit Check
Find the first pressure point before a closure, zip or accessory turns a storage problem into cue damage.
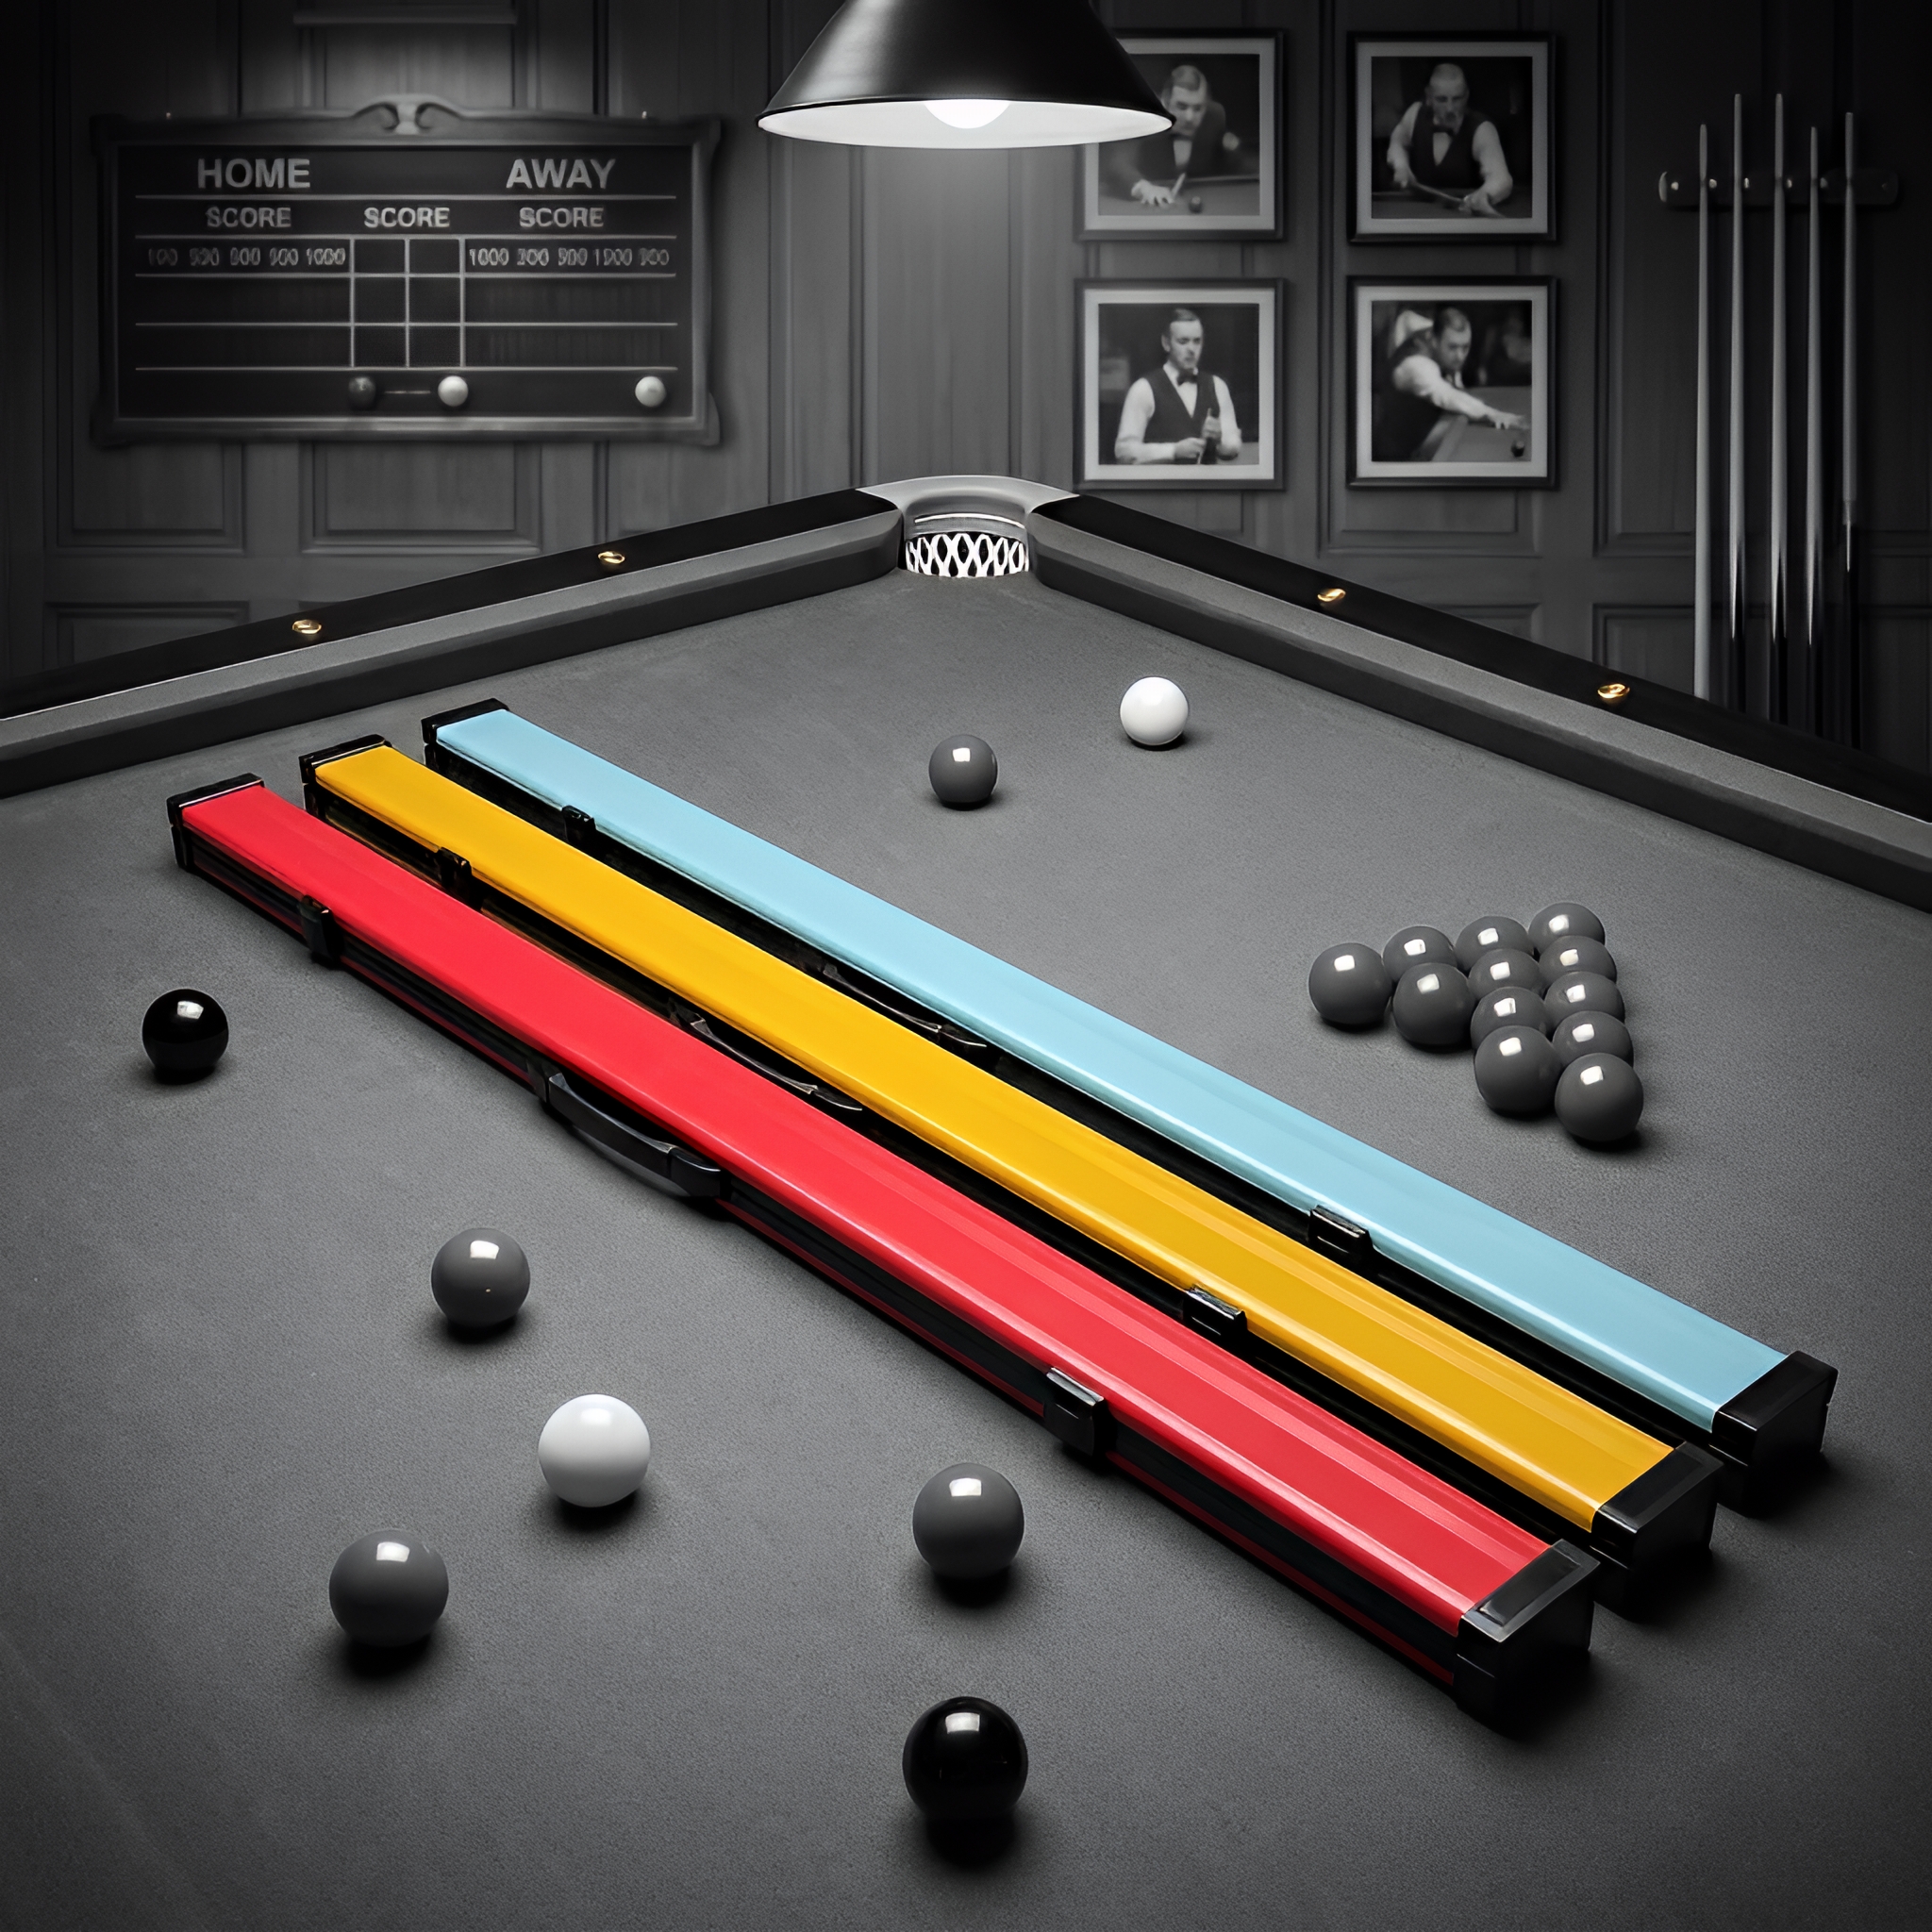
Short answer: stop forcing the case. Remove the accessories, separate the cue sections and identify exactly where contact begins: longest stored section, tip or ferrule, joint, butt, divider, end support or closure. Then compare those points with the case’s usable internal length, width and support. If the fit still needs pressure, leave the case unused and ask the maker, seller or an experienced cue technician about the exact cue-and-case combination.
Define what “too tight” means
A tight case can produce different symptoms. The shaft may enter but the tip or ferrule touches an end pad. The butt may fit until a divider presses against it. A joint protector or extension may steal space from the cue section. Sometimes the cue fits with the lid open but the zip or latch compresses the packed contents.
Write down the first visible or felt contact instead of describing the whole case as simply “small.” Note the exact cue format, the section involved, whether the cue is bare or protected, and whether the problem appears during insertion, removal or closure. This turns a vague complaint into an evidence record.
Start with an empty-case dry fit
Place the empty case on a clean, stable surface. Open every compartment and look at the channels, sleeves, dividers, end supports and closure path. Check for a folded lining, displaced padding, loose thread, debris or a damaged support before putting the cue inside.
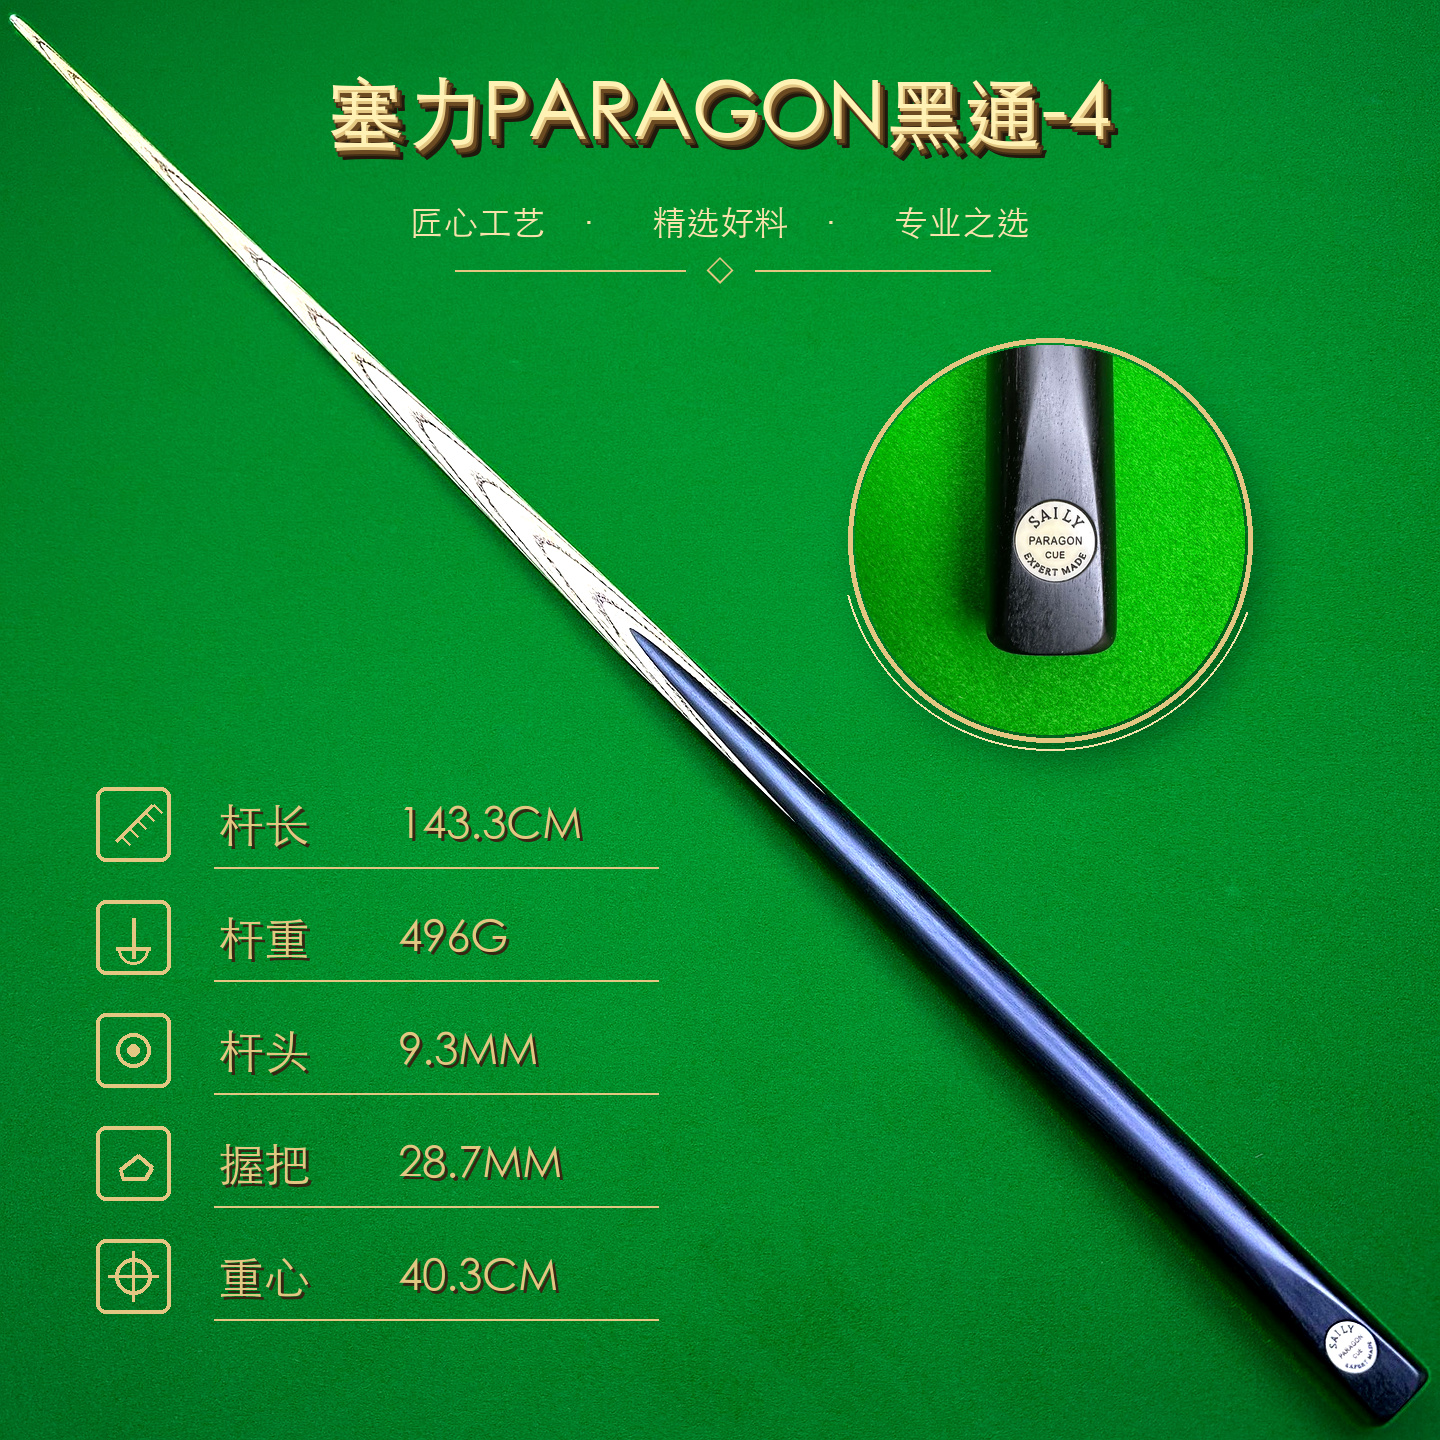
Use the cue in the configuration it will actually travel in, but test one component at a time. For a jointed cue, begin with the shaft and butt separated. Keep the tip, ferrule, joint and butt visible while you lower each section into its intended space. Do not add chalk, cloth, protectors or an extension until the bare cue sections can be inserted and removed normally.
The cue-for-case measurement guide explains why assembled length alone is not enough. The longest stored section and the widest points must be compared with the case’s actual interior.
Build a contact map, piece by piece
For each section, record the first place that touches. Useful labels include “tip end,” “ferrule,” “shaft wall,” “joint protector,” “butt cap,” “divider,” “end pad,” “zip path” and “lid.” If the cue slides in freely but catches at one point, mark that point and stop rather than pushing past it.
- Test the longest section.Confirm the end reaches its support without pressing the tip, ferrule or butt into a hard surface.
- Check the narrowest interior.Look for a shaft or butt area that is squeezed by a divider, sleeve or shaped channel.
- Inspect the joint area.Record any contact from a protector, pin cover or seam before the case closes.
- Test the closure empty.Move the zip, latch or lid with no cue inside to separate closure friction from fit.
Never use the closure to discover whether a section fits. If the lid bows, the zip strains or a latch needs force, reopen the case and return to the last safe configuration.
Compare usable internal dimensions
External case dimensions include walls, caps, handles and other construction that may not hold the cue. Ask for the seller’s measuring points and compare usable internal length, internal width at the tightest area, divider positions and end-support depth. Do not invent a universal clearance number when the case design and cue format are unknown.
Read the snooker cue case selection guide for the difference between a case label and a usable interior. A one-piece, 3/4-jointed and centre-jointed cue can occupy different spaces even when a listing uses the same sport name. For current storage options, browse SAILY CUE’s Cue Cases & Bags category and confirm the exact model’s dimensions before ordering.
Real cue records in the SAILY CUE catalogue can help you identify your own format and section measurements. They do not prove that a particular case fits; the case’s interior still needs confirmation.
Test the intended loadout last
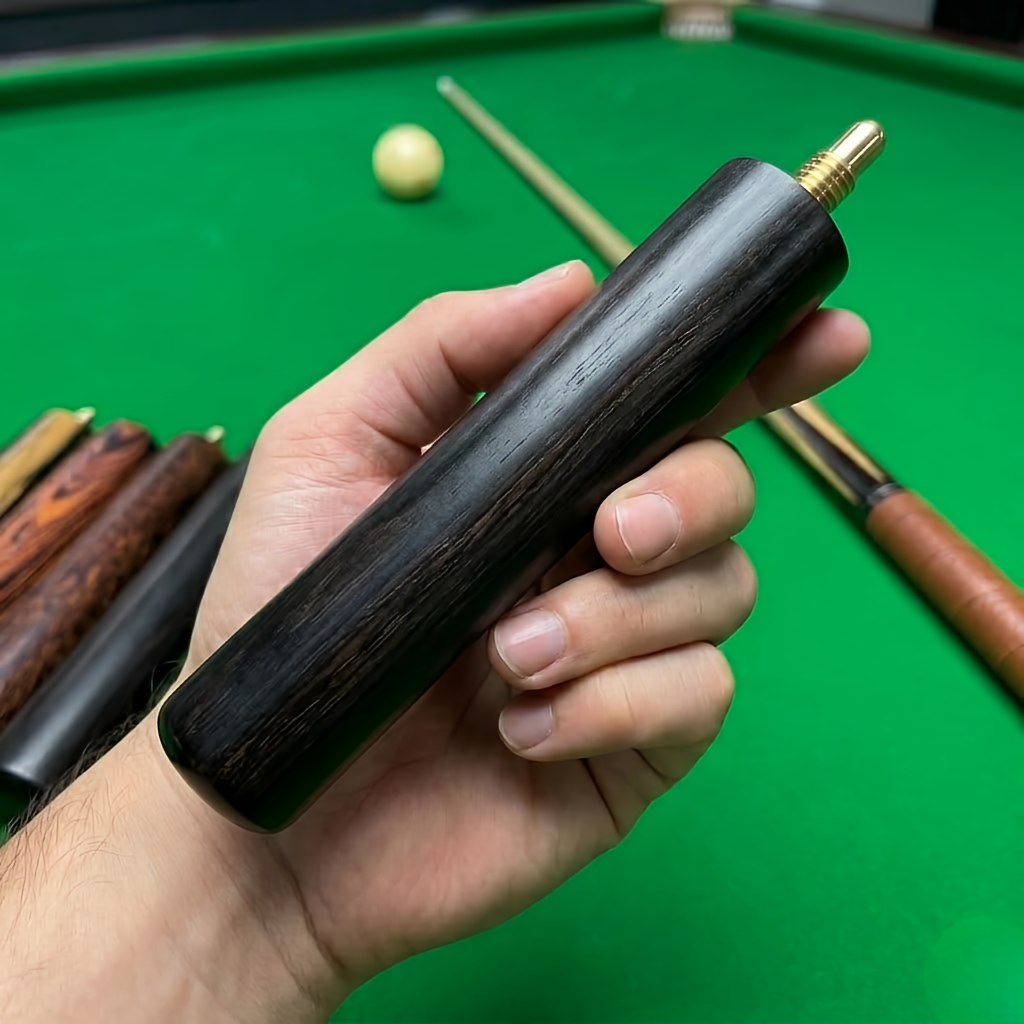
Once the bare sections fit safely, add only the accessories you will actually carry. Test each joint protector, extension, cloth and chalk holder in its own compartment. The case loadout checklist explains why loose chalk, keys, coins, damp fabric and hard tools should stay away from cue surfaces.
Close the case using its normal method. It should not require pressing the cue down, bending the lid, twisting a section, pulling the zip across resistance or forcing a latch. Reopen it and inspect whether any item has moved into a cue channel. A case that is comfortable empty can become too tight when a pocket or divider is filled.
Photograph the open arrangement and the first contact point. Keep the exact cue, case model and accessory list together if you need to ask the seller a fit question.
Know when to stop the test
Do not make the cue fit by force
Do not press, bend, twist, hammer, trim padding or use a closure as a clamp. Do not sand a cue, remove a divider or alter a case simply to make an unknown combination fit. Those actions change the evidence and may create a new problem.
Escalate an unresolved combination
If you cannot identify the contact point, if the cue is visibly marked, or if the case no longer closes normally, stop using that combination. Send the maker or seller clear photos of the cue sections, open interior, contact point, closure and relevant measurements. An experienced cue technician can assess the physical cue if a joint, ferrule, tip or shaft has been pressed.
A case is successful when it supports the exact cue, separates compatible accessories and closes normally. It is not successful merely because the last few millimetres can be forced into place.
Snooker cue case fit FAQ
How tight should a snooker cue case be?
The cue should be supported without rattling freely, but insertion, removal and closure should not require force. The exact answer depends on the cue format, case interior and support design, so compare usable internal dimensions rather than a generic label.
Why does my cue fit until I close the case?
The closure may compress an end, divider, accessory pocket or joint area. Empty the case, identify the first contact point and test the cue sections without accessories before trying the closure again.
Can I press the cue into a tight case?
No. Do not force, bend, twist or use the closure to compress a cue into place. Stop the fit test and ask the case maker, seller or an experienced cue technician to assess the exact combination.
Should I remove an extension or joint protector for the fit test?
Yes, test the cue sections and each detachable item separately, then test the intended packed configuration. Record where an extension or protector touches; never assume a spare pocket provides safe support.
CUE PROTECTION
Compare storage with the cue in mind
Review real case options, then confirm usable interior dimensions and support for your exact cue.